
How to install Omarchy on Parallels
25 August 2026
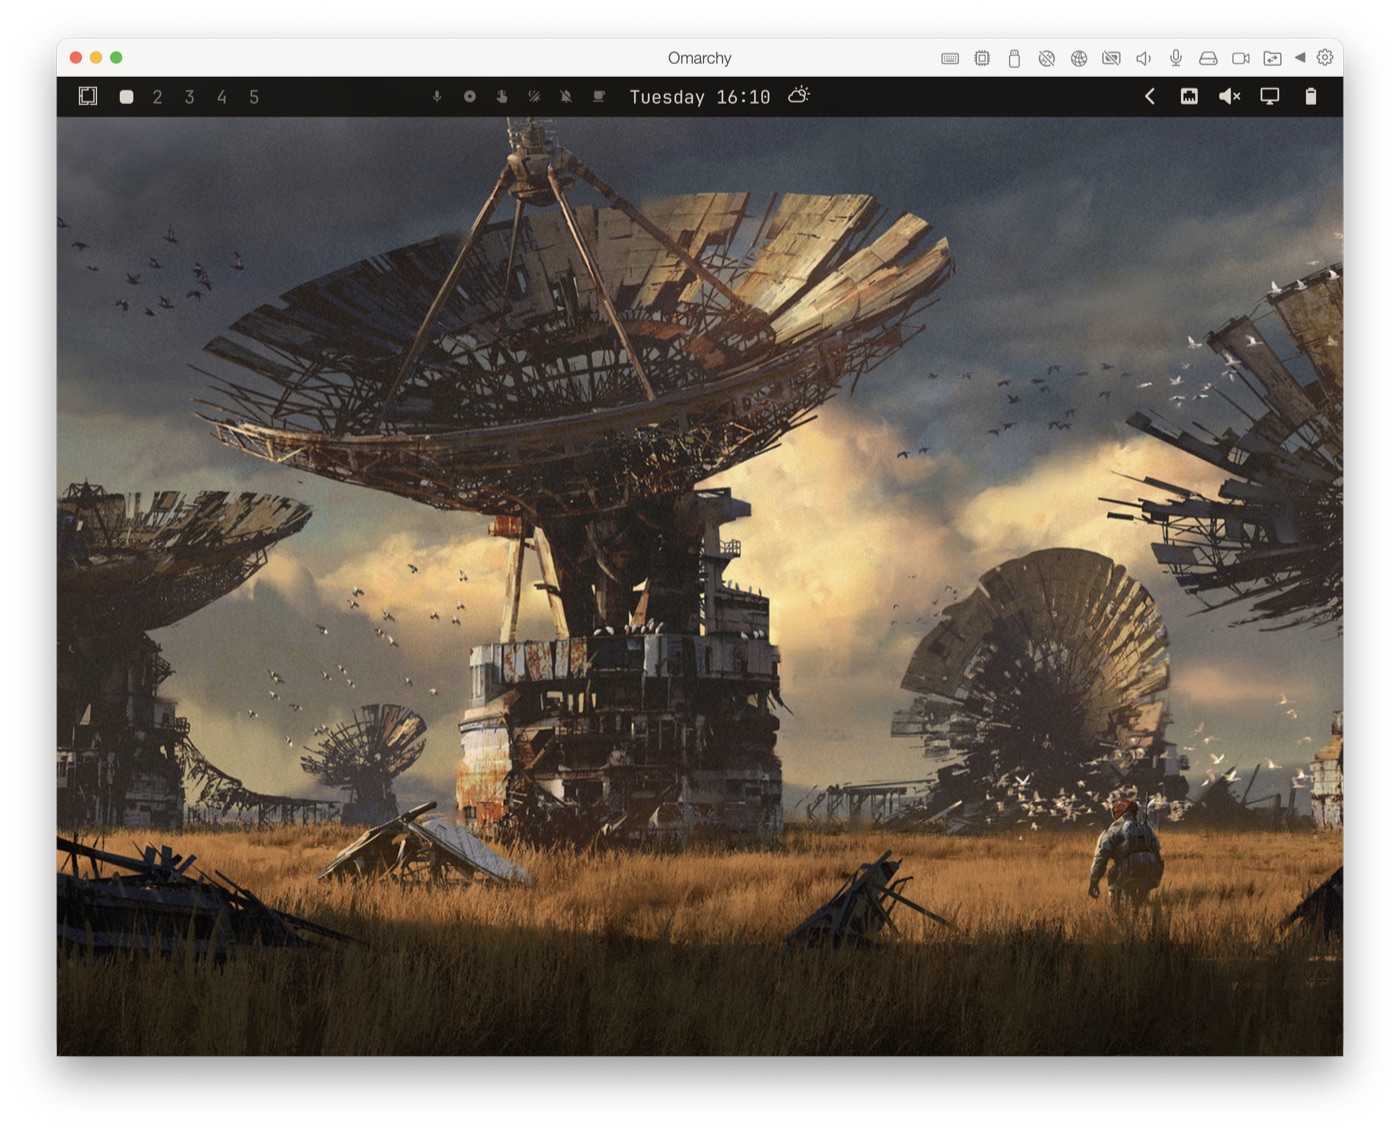
I wanted to run Omarchy in Parallels on my Mac without emulating an Intel machine. The short answer is that it works, but the official ISO is not the way to get there.
The installation I ended up with runs natively as an ARM64 virtual machine. It has Hyprland, accelerated virtio graphics, Parallels Tools, shared folders, clipboard integration and dynamic resolution when the VM window changes size. This article explains the route I tested from a blank virtual disk.
All the scripts and the longer technical reference live in my Omarchy on Parallels repository. If you only want to try the finished system, there is also a preconfigured Parallels template. Its initial username, user password and root password are all omarchy, so change them as soon as the VM starts.
This is a tested adaptation, not an officially supported Omarchy installation. Take snapshots at the checkpoints below and before every future Omarchy update.
Why the official Omarchy ISO does not work on Apple Silicon
The official Omarchy ISO targets x86_64. Parallels can virtualize ARM64 operating systems efficiently on Apple Silicon, but it cannot boot that Intel image as a native ARM guest.
The practical solution is to install Arch Linux ARM first, then adapt the signed Omarchy MX Mac release. Omarchy MX Mac was built for Asahi Linux, not for Parallels, so installing it unchanged would bring in the wrong kernel and hardware assumptions.
My bootstrap script keeps the working Arch Linux ARM kernel, repositories, systemd-boot configuration and virtio support. Before changing the Asahi-specific checks, it verifies the release key, signed installer, release descriptor, package signatures, checksums and pinned source commits. That trust boundary matters: the upstream artifacts are verified, but the final VM is still a local, unsupported adaptation.
The configuration I tested
I used the following setup:
- Apple Silicon Mac
- Parallels Desktop 26.4.1
- 4 virtual CPUs
- 8 GB of RAM
- 64 GB expanding SATA disk
- shared networking with a virtio adapter
- highest available 3D acceleration
- EFI ARM64 with Secure Boot disabled
- Arch Linux ARM on Btrfs
- systemd-boot
- Omarchy MX Mac 4.0.0-mac.11
- Hyprland 0.56.1
Newer releases may work, but these are the versions behind the commands and expected results in this guide.
1. Download and verify the Archboot ARM64 ISO
Open the latest Archboot AArch64 ISO directory and download the medium image ending in -aarch64-ARCH-aarch64.iso, together with its matching .iso.sig file.
Archboot images are signed by Tobias Powalowski. At the time of this installation, his fingerprint published in the Arch Linux developer directory was:
5B7E3FB71B7F10329A1C03AB771DF6627EDF681FWith GnuPG installed on macOS, verify both the fingerprint and the ISO:
cd ~/Downloads
gpg --keyserver hkps://keyserver.ubuntu.com \
  --recv-keys 5B7E3FB71B7F10329A1C03AB771DF6627EDF681F
gpg --fingerprint 5B7E3FB71B7F10329A1C03AB771DF6627EDF681F
gpg --verify archboot-*.iso.sig archboot-*.iso
Do not continue if the complete fingerprint does not match or GnuPG does not report a good signature.
2. Create the ARM64 virtual machine in Parallels
In Parallels Desktop, choose File > New, then Install Windows or another OS from a DVD or image file. Select the Archboot ISO and use Manjaro Linux when Parallels asks for an operating system profile. That profile gave me the correct virtual hardware defaults.
Enable Customize settings before installation and configure the VM with the values listed above. The important details are ARM64 EFI firmware, Secure Boot disabled, shared networking and the highest available 3D acceleration.
Parallels may describe the ISO as an unknown Linux distribution. That is not a problem. What matters is that the VM uses its ARM64 hardware profile.
3. Install the Arch Linux ARM base
Boot the VM and use the Archboot installer. The screens are fairly old-school, but the choices are straightforward:
- Configure the network with DHCP.
- Select
/dev/sdaas the installation disk. - Use GPT partitioning.
- Create a 512 MB FAT32 EFI System Partition mounted at
/boot. - Use Btrfs for the remaining root filesystem.
- Select the
linux-aarch64kernel. - Choose the systemd-based initramfs.
- Install systemd-boot.
- Set the hostname, locale, timezone, root password and a regular user.
My final disk also had a small 256 MB swap partition and a 2 MB BIOS_GRUB partition created by the guided installer. Neither is essential to Omarchy. The bootstrap disables swap, and EFI systemd-boot does not use the BIOS partition.
When installation is complete, shut the VM down, disconnect the ISO and boot from the virtual disk. Make sure you can reach the Arch Linux console before moving on.
4. Prepare Arch Linux and enable SSH
Log in as root and install the base tools:
pacman -Syu --needed \
  curl gnupg git base-devel sudo openssh xdg-user-dirs
systemctl enable --now sshd
If you did not create a regular user in Archboot, add one now. Replace youruser with your Linux username:
useradd -m -G wheel -s /bin/bash youruser
passwd youruser
Find the VM address and test SSH from the Mac:
# Run inside the VM
ip -br address

# Run on macOS
ssh youruser@VM_IP_ADDRESS
This is the right moment for the first Parallels snapshot. I called mine Clean Arch ARM base.
5. Install the verified Omarchy ARM64 bundle
Clone the companion repository on the Mac:
git clone https://github.com/nahime0/omarchy-parallels.git
cd omarchy-parallels
Copy the bootstrap into the guest:
scp scripts/omarchy-parallels-arm64-bootstrap.sh \
  youruser@VM_IP_ADDRESS:/tmp/
Connect to the VM, become root and install the script with restrictive permissions:
ssh youruser@VM_IP_ADDRESS
su -
install -m 0700 /tmp/omarchy-parallels-arm64-bootstrap.sh \
  /root/omarchy-parallels-arm64-bootstrap.sh
Run it with the existing username and the name you want shown on the system:
OMARCHY_USER=youruser \
OMARCHY_FULL_NAME="Your Full Name" \
  bash /root/omarchy-parallels-arm64-bootstrap.sh
The script downloads roughly 1 GB of packages and builds several pinned ARM packages locally. This takes a while. Do not interrupt a package transaction because the terminal looks quiet.
Progress and failures are recorded in:
/root/omarchy-vm-install.log
/root/omarchy-vm-install.state
Once every verification and installation phase has completed, the VM reboots on its own.
6. Check the Omarchy desktop
The next boot should end at the SDDM login screen. Sign in with the regular user, open a terminal and run:
uname -m
cat /usr/share/omarchy/version
systemctl is-enabled sddm
systemctl is-active sddm
systemctl get-default
test -f ~/.local/state/omarchy/done/finalize-user \
  && echo 'user setup complete'
The essentials are aarch64, an Omarchy version, SDDM enabled and active, graphical.target, and the final user setup complete line.
If the VM remains on a text console, an Archboot service may still be competing with SDDM on tty1. Disable it and restart the display manager:
sudo systemctl disable --now kmsconvt@tty1.service
sudo systemctl restart sddm
7. Install Parallels Tools
Create a second snapshot before touching the guest integration. Then choose Actions > Install Parallels Tools in Parallels Desktop.
The ARM64 Tools ISO should mount automatically. Locate and run its installer:
find "/run/media/$USER" -maxdepth 2 -name install -print
sudo "/run/media/$USER/Parallels Tools/install"
If it did not mount, use the virtual optical drive directly:
sudo mkdir -p /mnt/prltools
sudo mount /dev/sr0 /mnt/prltools
sudo /mnt/prltools/install
Reboot, then verify the service inside the guest:
systemctl is-enabled prltoolsd
systemctl is-active prltoolsd
On the Mac, this should report GuestTools: state=installed:
prlctl list -i "Omarchy" | grep GuestToolsAt this point shared folders, clipboard support and the other Parallels integrations should be available. Dynamic resolution still needs one extra step under Hyprland.
8. Make Parallels dynamic resolution work with Hyprland
This was the fiddly part. Parallels receives the new window size under Wayland, but its agent tries to apply it through GNOME's org.gnome.Mutter.DisplayConfig interface. Hyprland does not implement that interface. The result is a VM that changes resolution only occasionally, often after a timeout.
The second script in the repository bridges the virtio display mode to Hyprland and runs the Parallels control component through XWayland. It preserves the monitor scale chosen in Omarchy, so resizing the window does not silently reset your preferred scale.
Copy the installer from the Mac:
scp scripts/install-parallels-hyprland-dynamic-resolution.sh \
  youruser@VM_IP_ADDRESS:/tmp/
Run it as the regular desktop user, not as root:
install -m 0700 /tmp/install-parallels-hyprland-dynamic-resolution.sh \
  ~/.local/bin/install-parallels-hyprland-dynamic-resolution
~/.local/bin/install-parallels-hyprland-dynamic-resolution
Leave View > Retina Resolution > More Space selected in Parallels. When you resize the VM window, release the pointer and give the final mode about two seconds to settle.
Verify the user services and the active monitor mode:
systemctl --user is-enabled parallels-dynamic-resolution.service
systemctl --user is-active parallels-dynamic-resolution.service
systemctl --user is-active parallels-prlcc-x11.service
systemctl --user is-active parallels-prldnd-wayland.service
systemctl --user is-active parallels-prlcp-wayland.service
systemctl --user is-active parallels-prlshprof-wayland.service
hyprctl monitors all
The installer makes timestamped backups if it replaces an older bridge or service unit.
A few problems worth knowing about
If the desktop falls back to 1024×768, check both Parallels Tools and the bridge:
systemctl is-active prltoolsd
systemctl --user is-active parallels-dynamic-resolution.service
sed -n '1p' /sys/class/drm/card0-Virtual-1/modes
hyprctl monitors all
If Parallels logs a new size but Hyprland does not react, restart only the user services:
systemctl --user restart \
  parallels-prlcc-x11.service \
  parallels-dynamic-resolution.service
Omarchy enables UFW and rate-limits SSH. Several fresh SSH connections in quick succession can temporarily return Connection refused. Wait about 30 seconds or reuse one persistent SSH connection instead of weakening the firewall.
If the main installation fails, inspect /root/omarchy-vm-install.log, /root/omarchy-vm-install.state and /var/log/pacman.log. Do not blindly rerun the script in the middle of a package transaction. Restore the clean Arch snapshot if the package database is in an uncertain state.
Updating an Omarchy VM on Parallels
This setup deliberately combines an Arch Linux ARM base with an adapted Asahi-targeted Omarchy release. An upstream change to the kernel, bootloader, package manifest or hardware checks can therefore break the assumptions used here.
Before omarchy update or a full pacman -Syu, create a snapshot and read the Omarchy MX Mac release notes. After the update, verify a real reboot and check the important services:
uname -m
pacman -Q linux-aarch64 omarchy-dev omarchy-settings-dev hyprland
systemctl is-active NetworkManager sddm prltoolsd
systemctl --user is-active \
  parallels-dynamic-resolution.service \
  parallels-prlcc-x11.service \
  parallels-prldnd-wayland.service \
  parallels-prlcp-wayland.service \
  parallels-prlshprof-wayland.service
cat /usr/share/omarchy/version
I have been using this VM as a real Hyprland desktop, not just as a successful installer screenshot. It is still an experimental route, but with snapshots and the verification steps above it is reproducible and surprisingly comfortable.
For script internals, current tested versions and the full troubleshooting reference, use the GitHub guide. The other primary references are Archboot, Omarchy MX Mac, the Parallels Tools overview and the Hyprland monitor documentation.